Remixing Materials
Reflections
This seminar made us reflect on bio-materials, and how we can reuse waste in a ecologic way. I have never tryed to make a bio-plastic so this classes have been really interesting to experiment and do a lot of hands-on learning. Coming from a product design background it is difficult for me to change my perspective about production and realising that we can use bio-materials. This materials are not the best in terms of physical properties, easy production neither economically, but are the best in terms of thinking for a sustainable world.
Material narratives
Choose 1 material from references:
Tiger Nut – Chufa
- What is the story behind them (who did them, why, where it comes from)
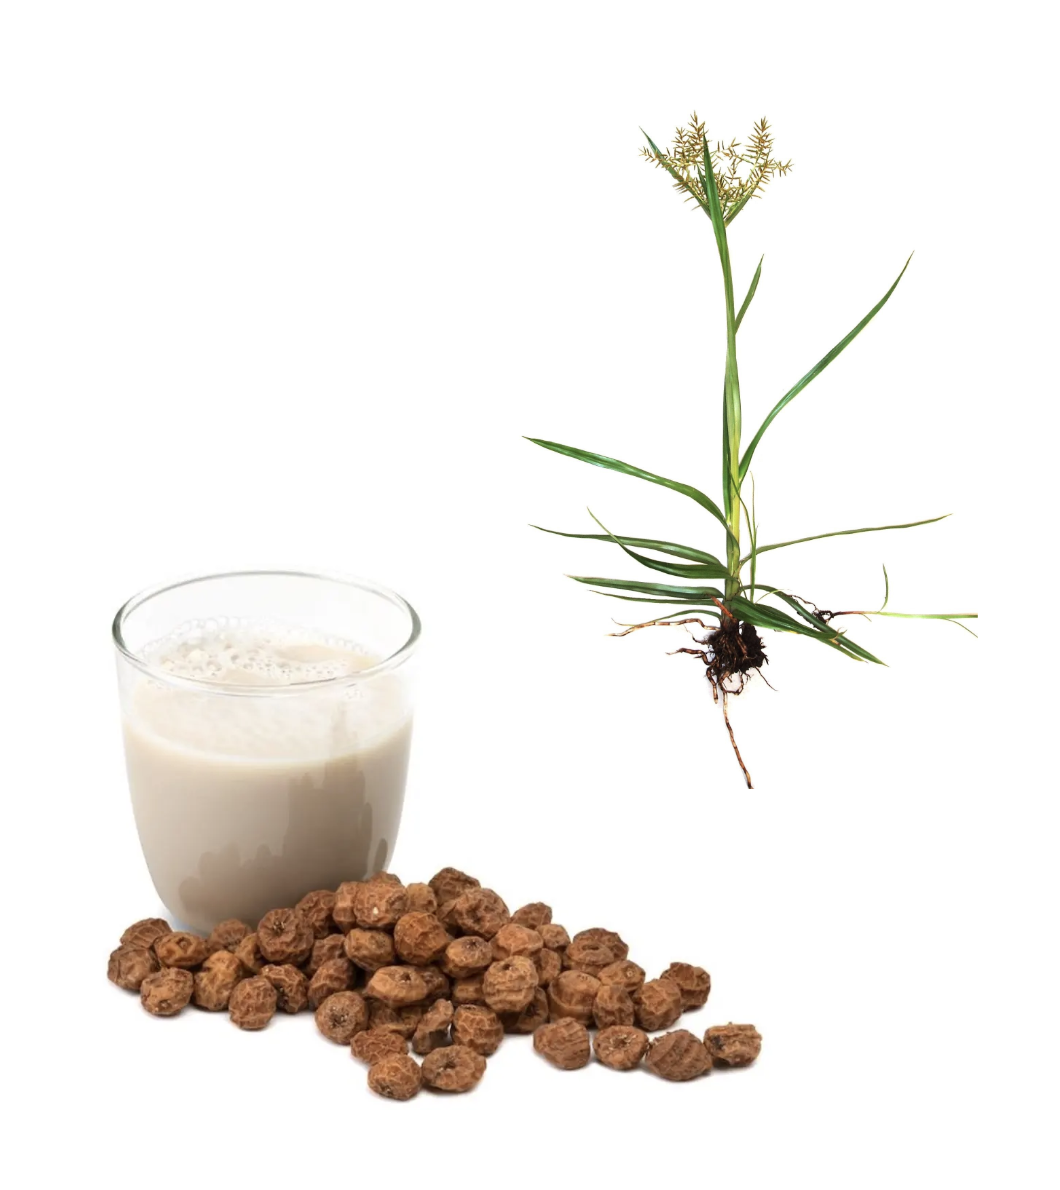 |
In Spain, Chufa is used to prepare a typical drink known as horchata. It is made from soaked, ground and sweetened tiger nuts mixed with sugar and water. Ice cream shops produce horchata by crushing and pressing chufa and there is a lot of waste, so we tried to find a reuse. |
- Properties (functional, technical & emotional)
| Functional | Technical | Emotional |
|---|---|---|
| strong | recyclable | comfortable |
| sound | water resistant | natural |
| waste | transparency | gradient |
-
Describe what is it and their aspect/aesthetic
-
2 possible applications for each
Cups to sell horchata in Ice Cream Shops. Not single-use items, but items that can be reused several times at home. After multiple uses, the material can be degraded, so you can use it as a fertiliser for your plants.
Interacting with Mycelium
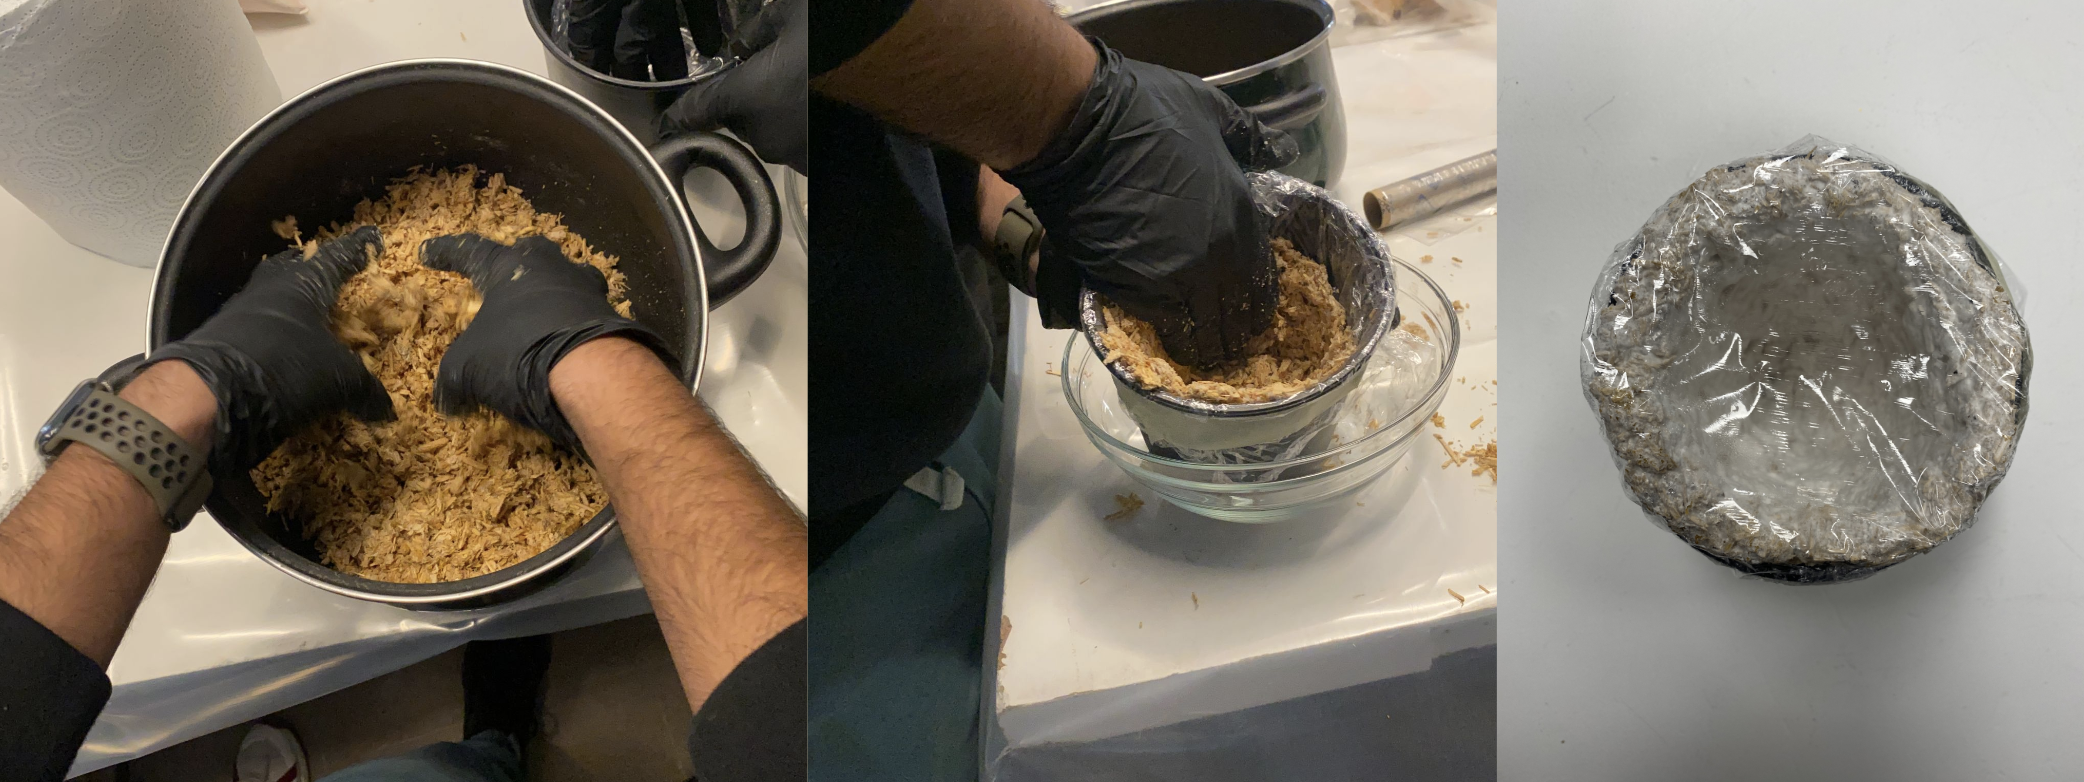
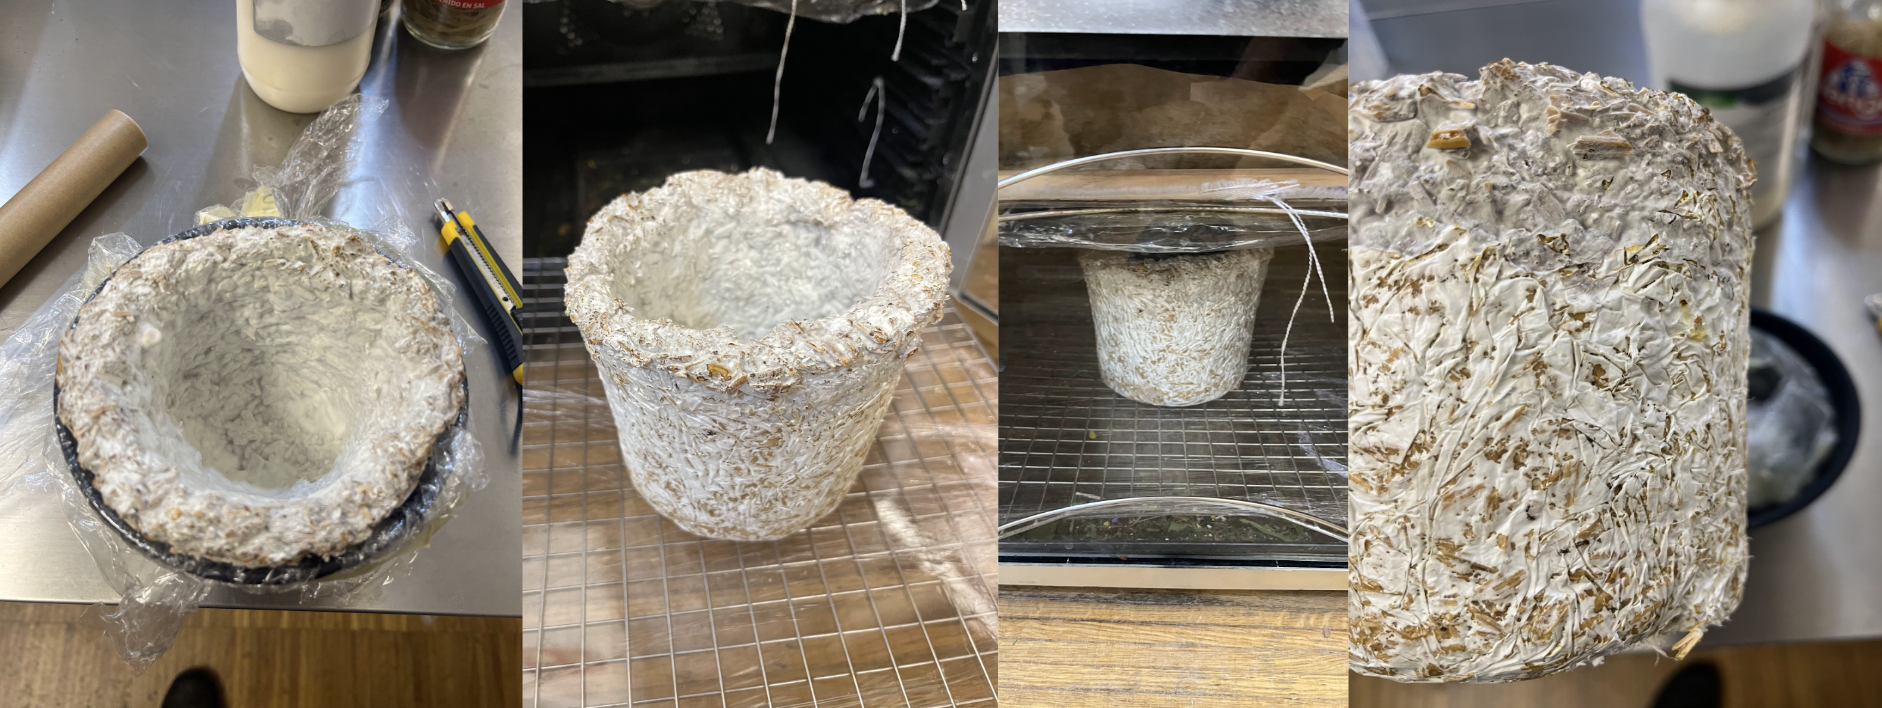
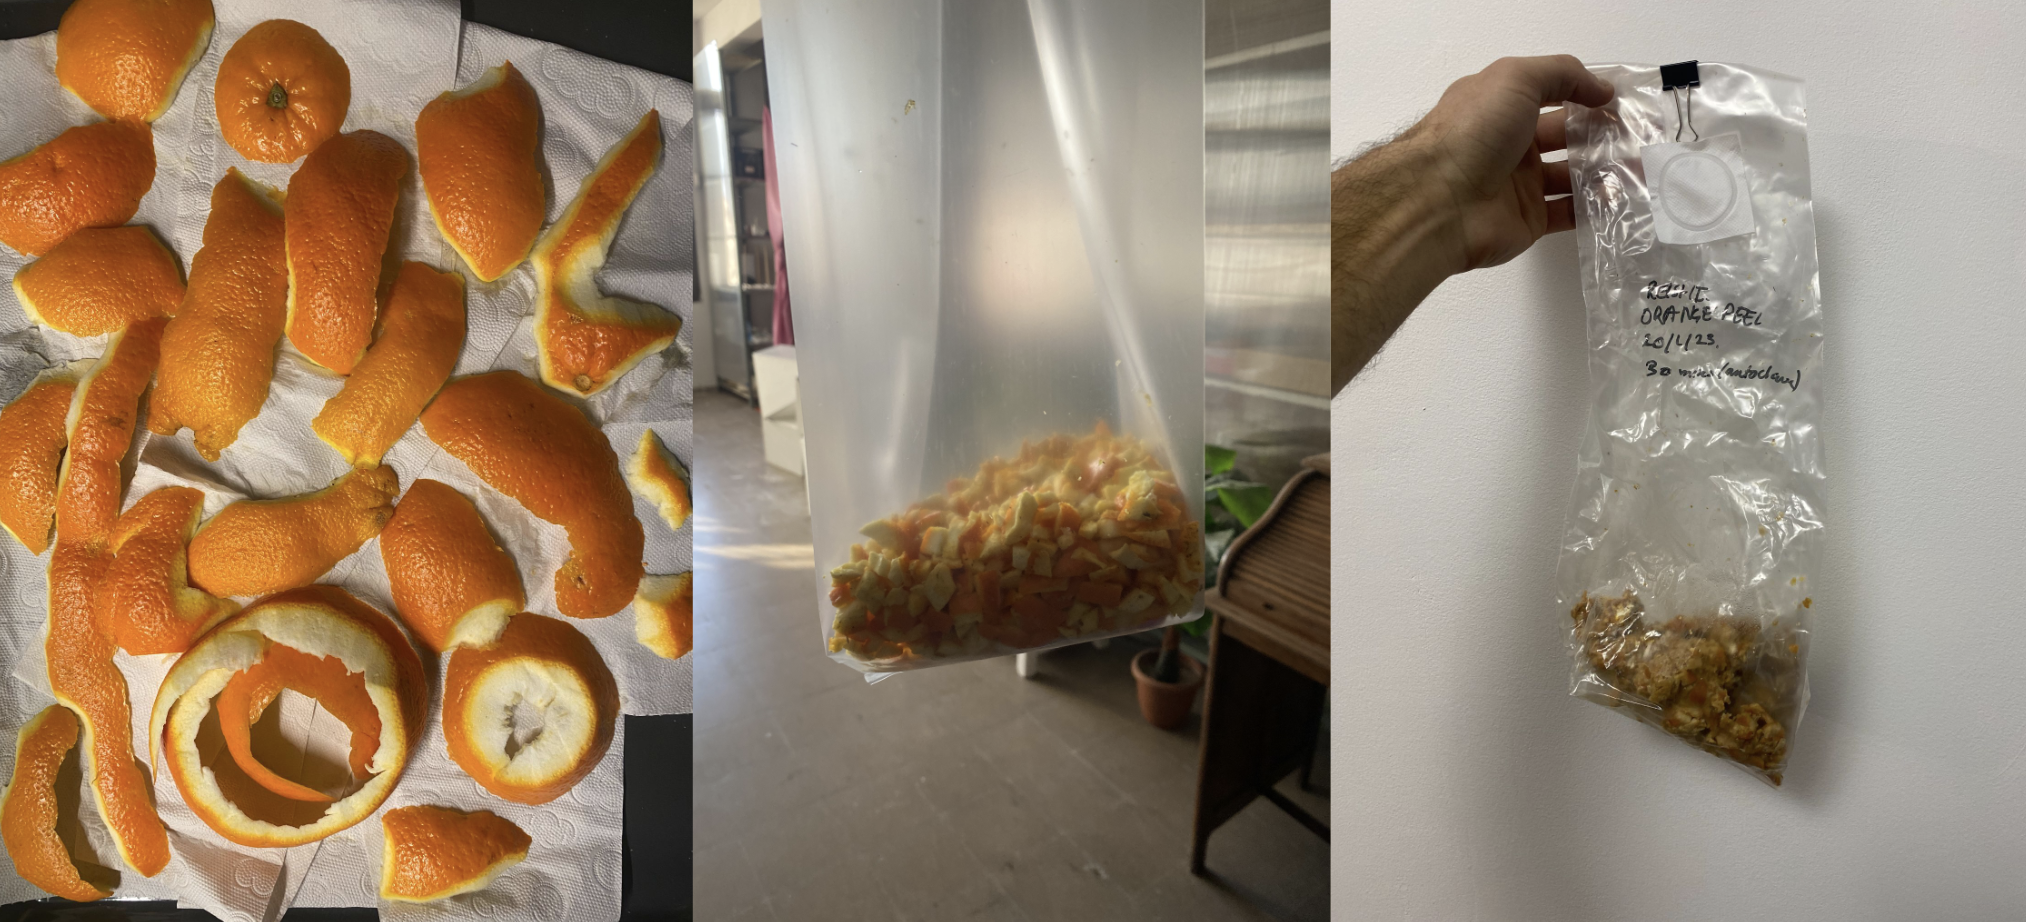
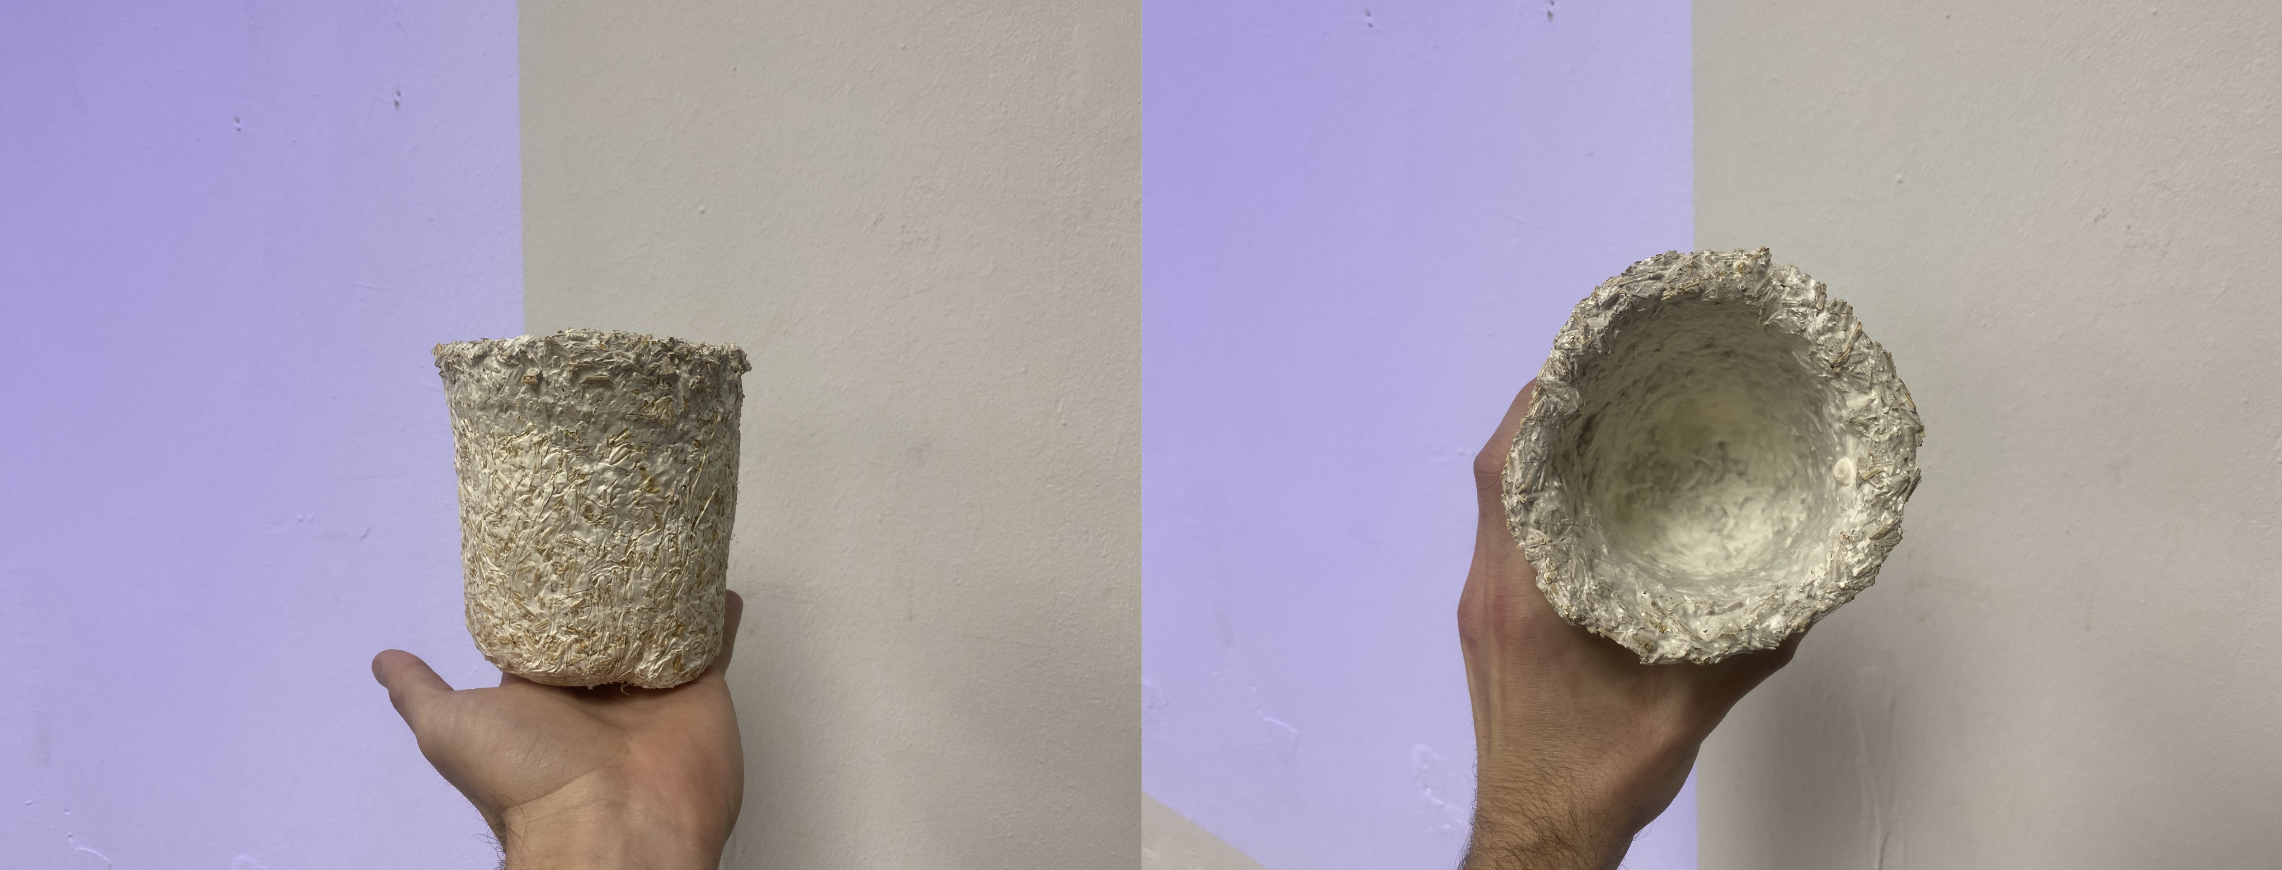
Process of Mycelium Pot Fabrication
Remix in Context
Recipes
1st recipe
45 grs. pine resin 15 ml. alcohol 5 grs. carnauba wax 40/60 grs. food waste
2nd recipe – extruder
30 grs. corn starch 250 ml. water 15 ml. glycerin 2 ml. vinegar additives - photo 10 grs. red clay
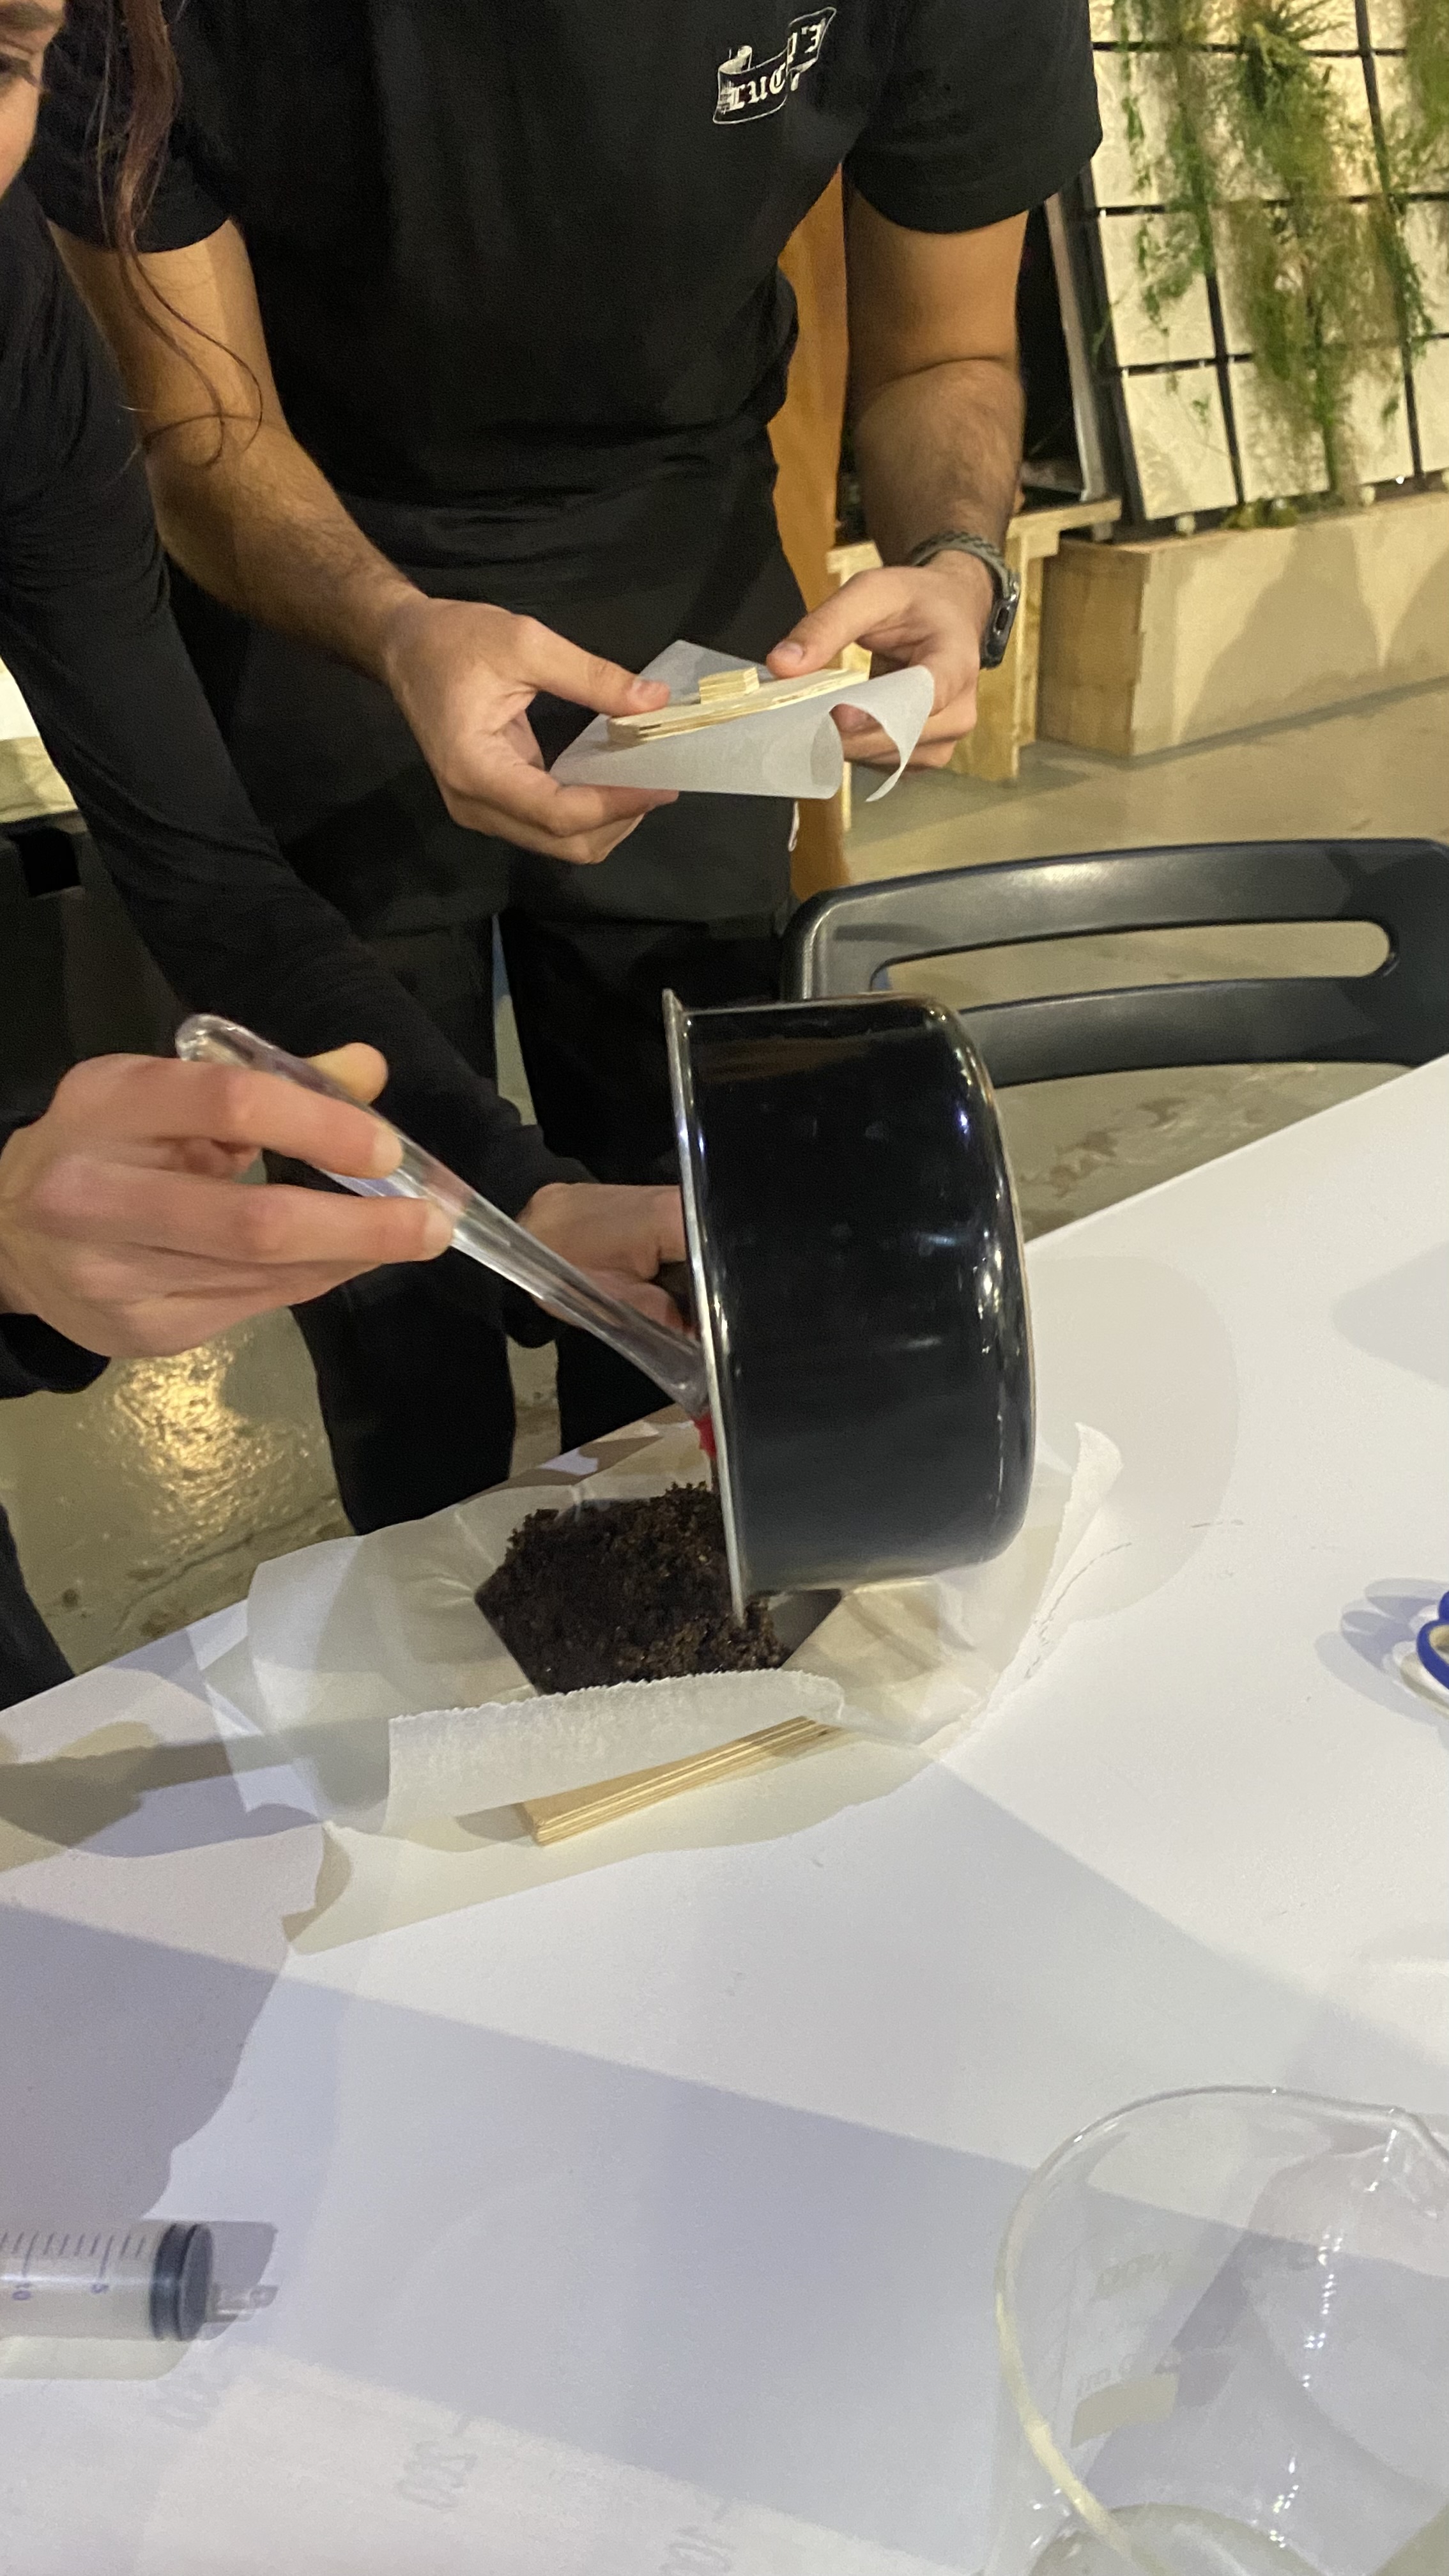
We made a scaled up recipe for 5 tests with variations in the amounts of coffee.
144 grs. gelatine 720 ml. water 69 grs. Glycerin 2ml vinegar Coffee additive
5 moulds (circular flat & rectangular w/ 3d texture)
Gelatin Bioplastic
48 grs. gelatine 240 ml. water 12 grs. glycerin 8gr chufa
2 molds (circular & rectangular flat)
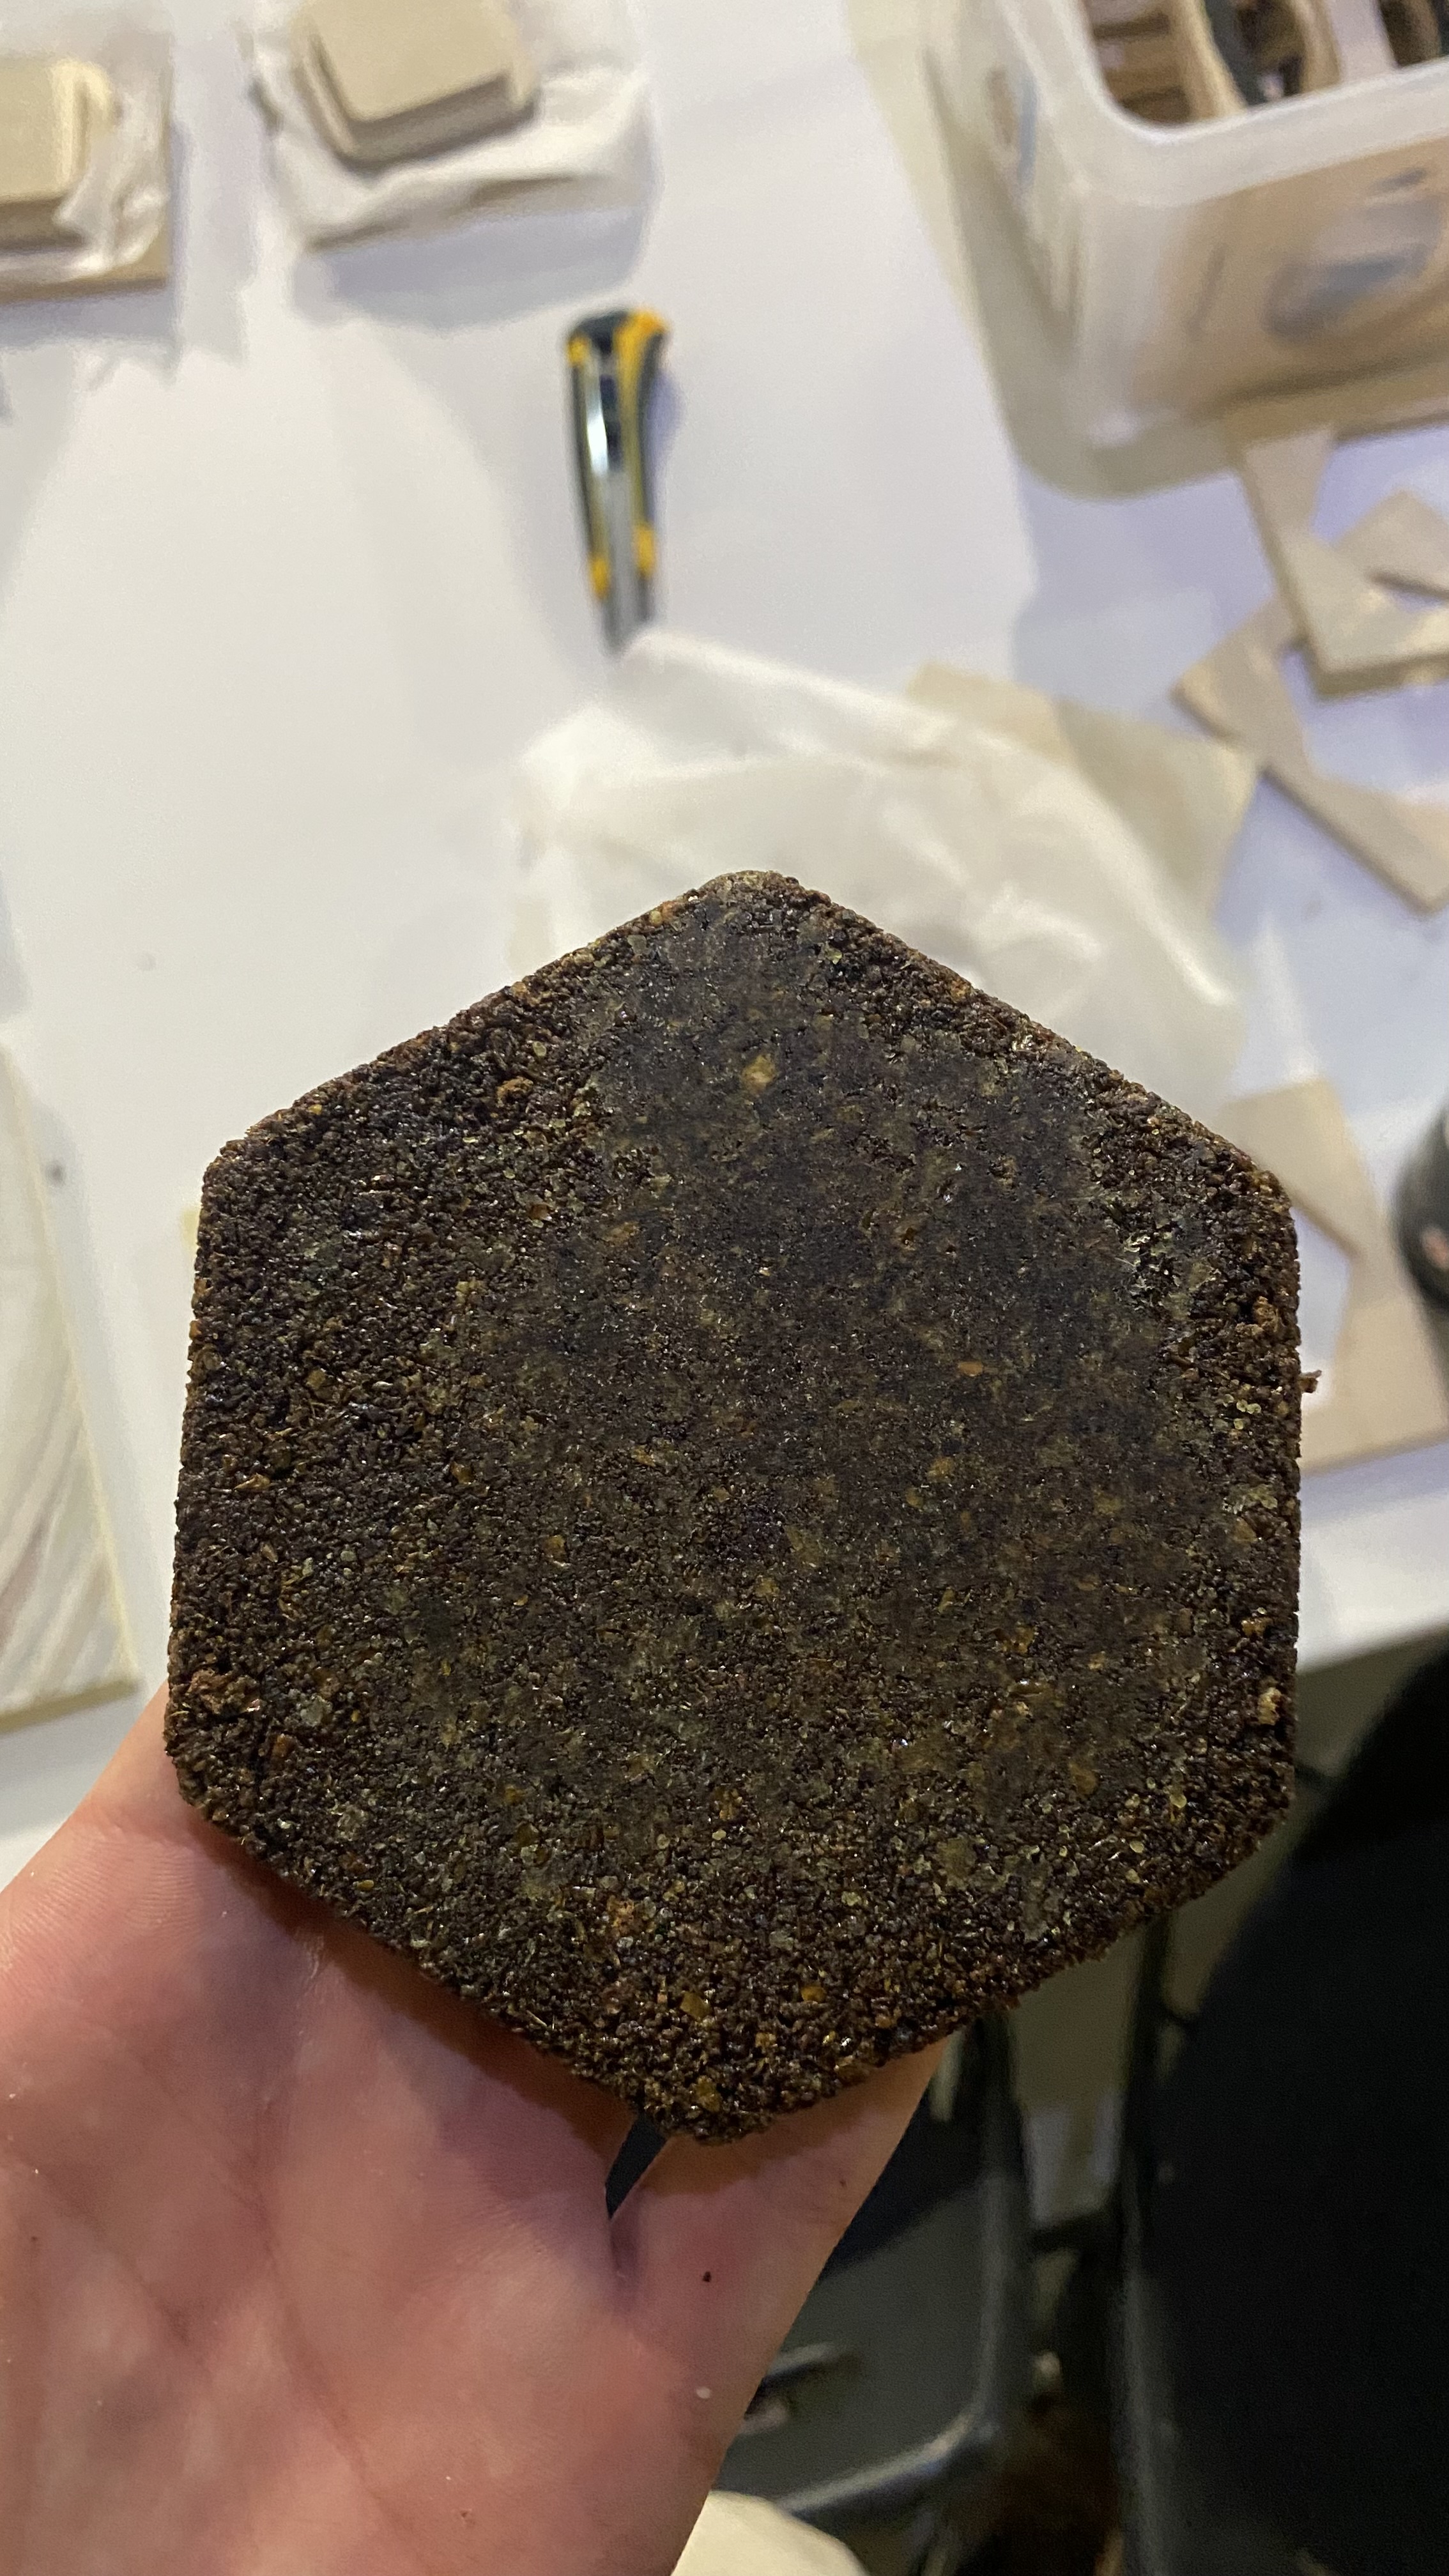
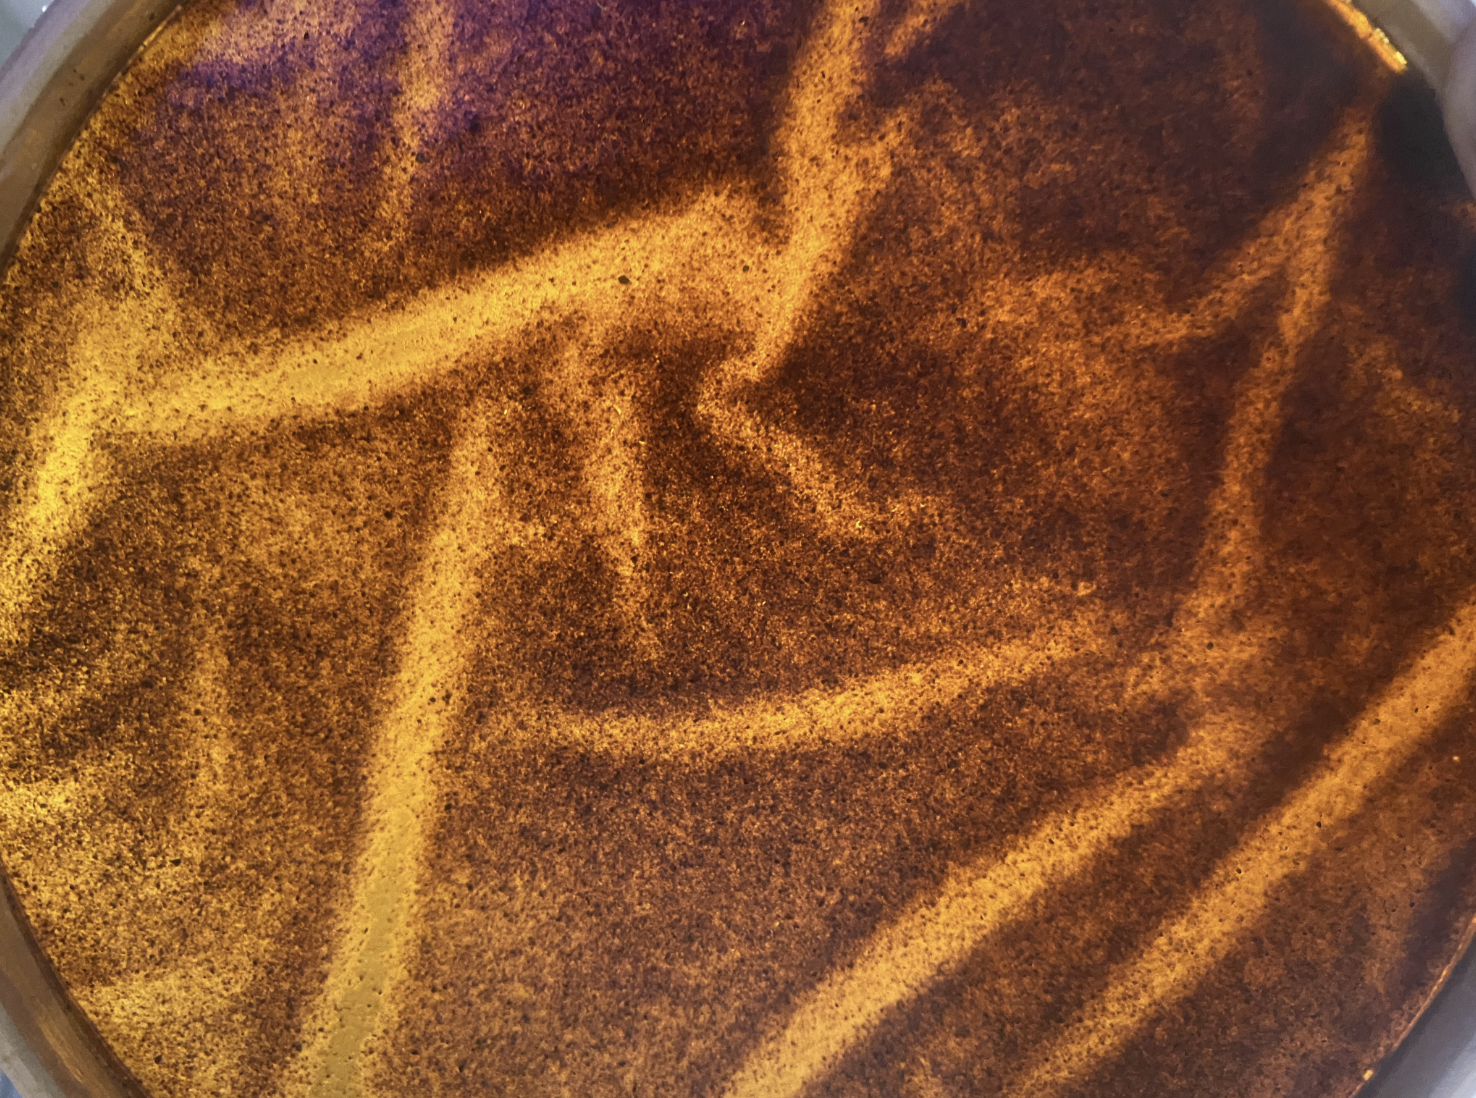
Coffee
Project Presentation:
Prototyping materials
3D printing Clay
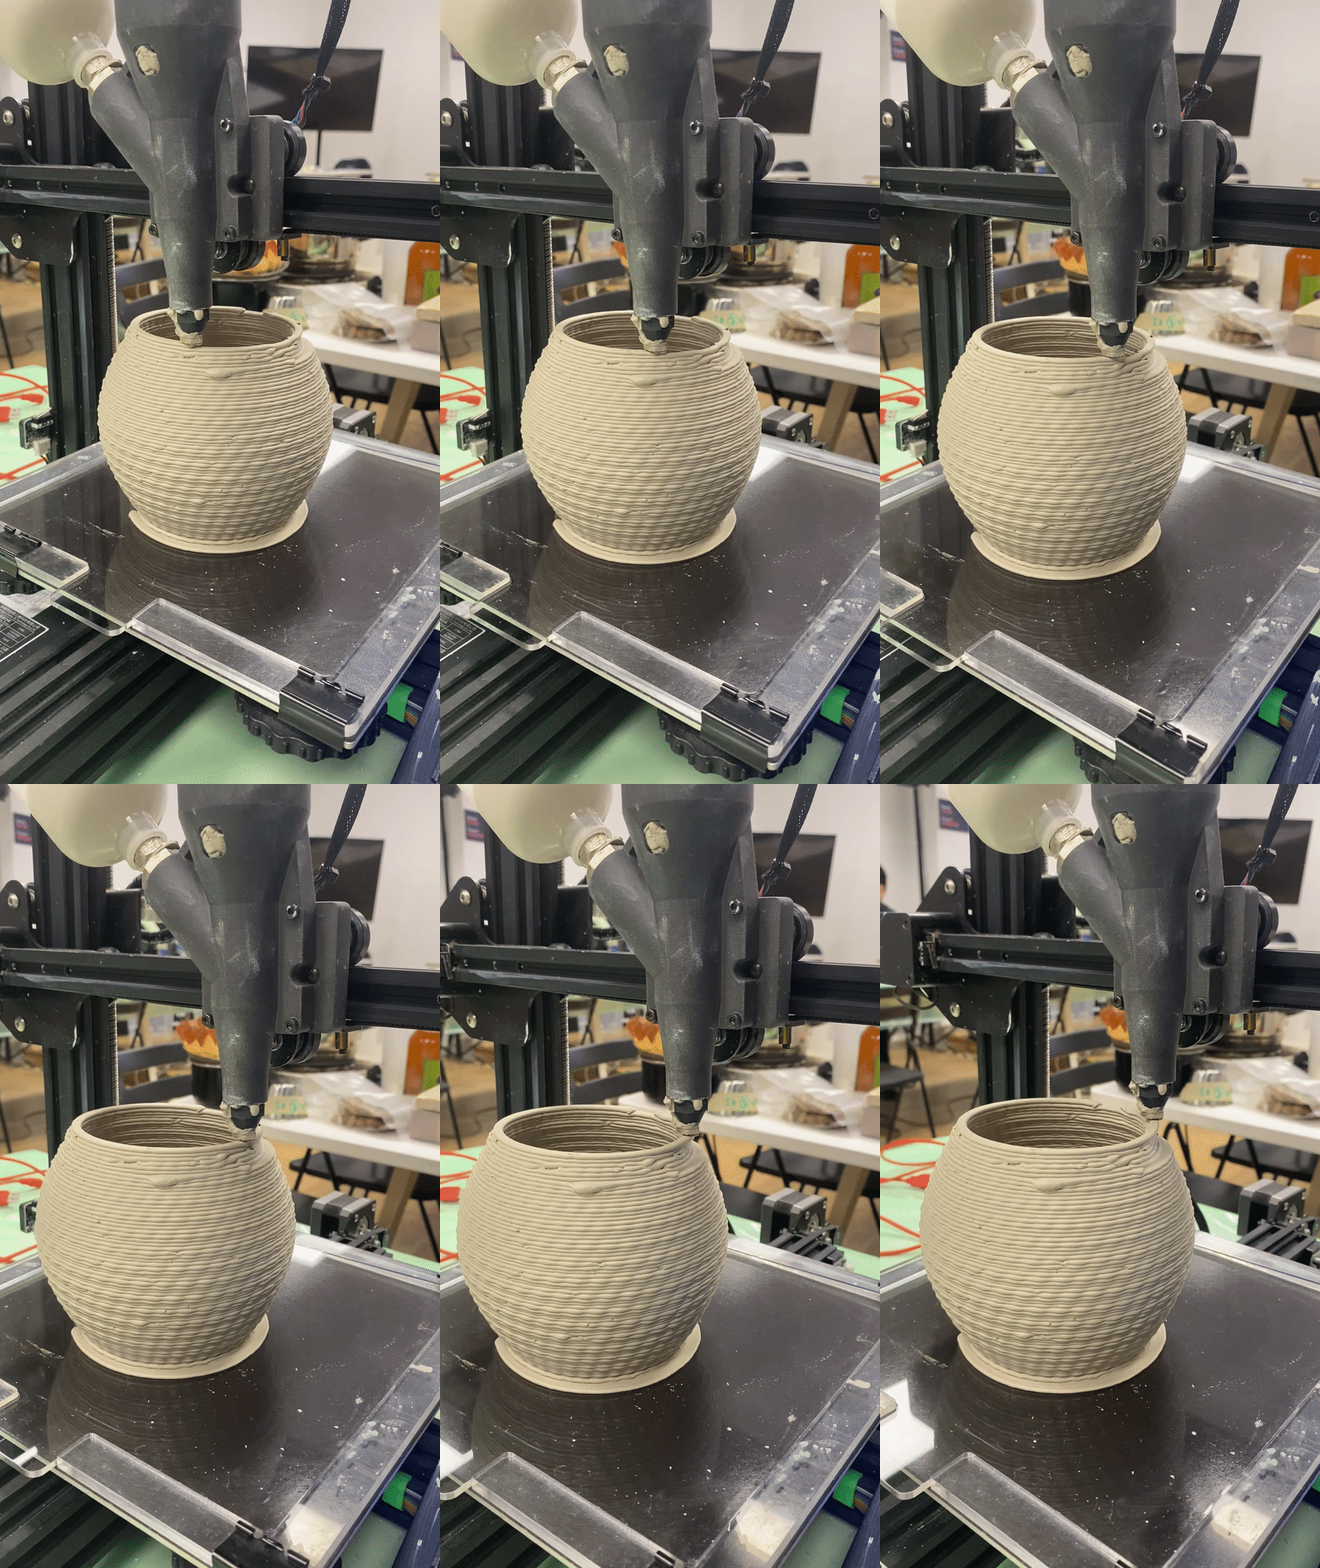
How to 3D print paste with FDM modifyed printer.
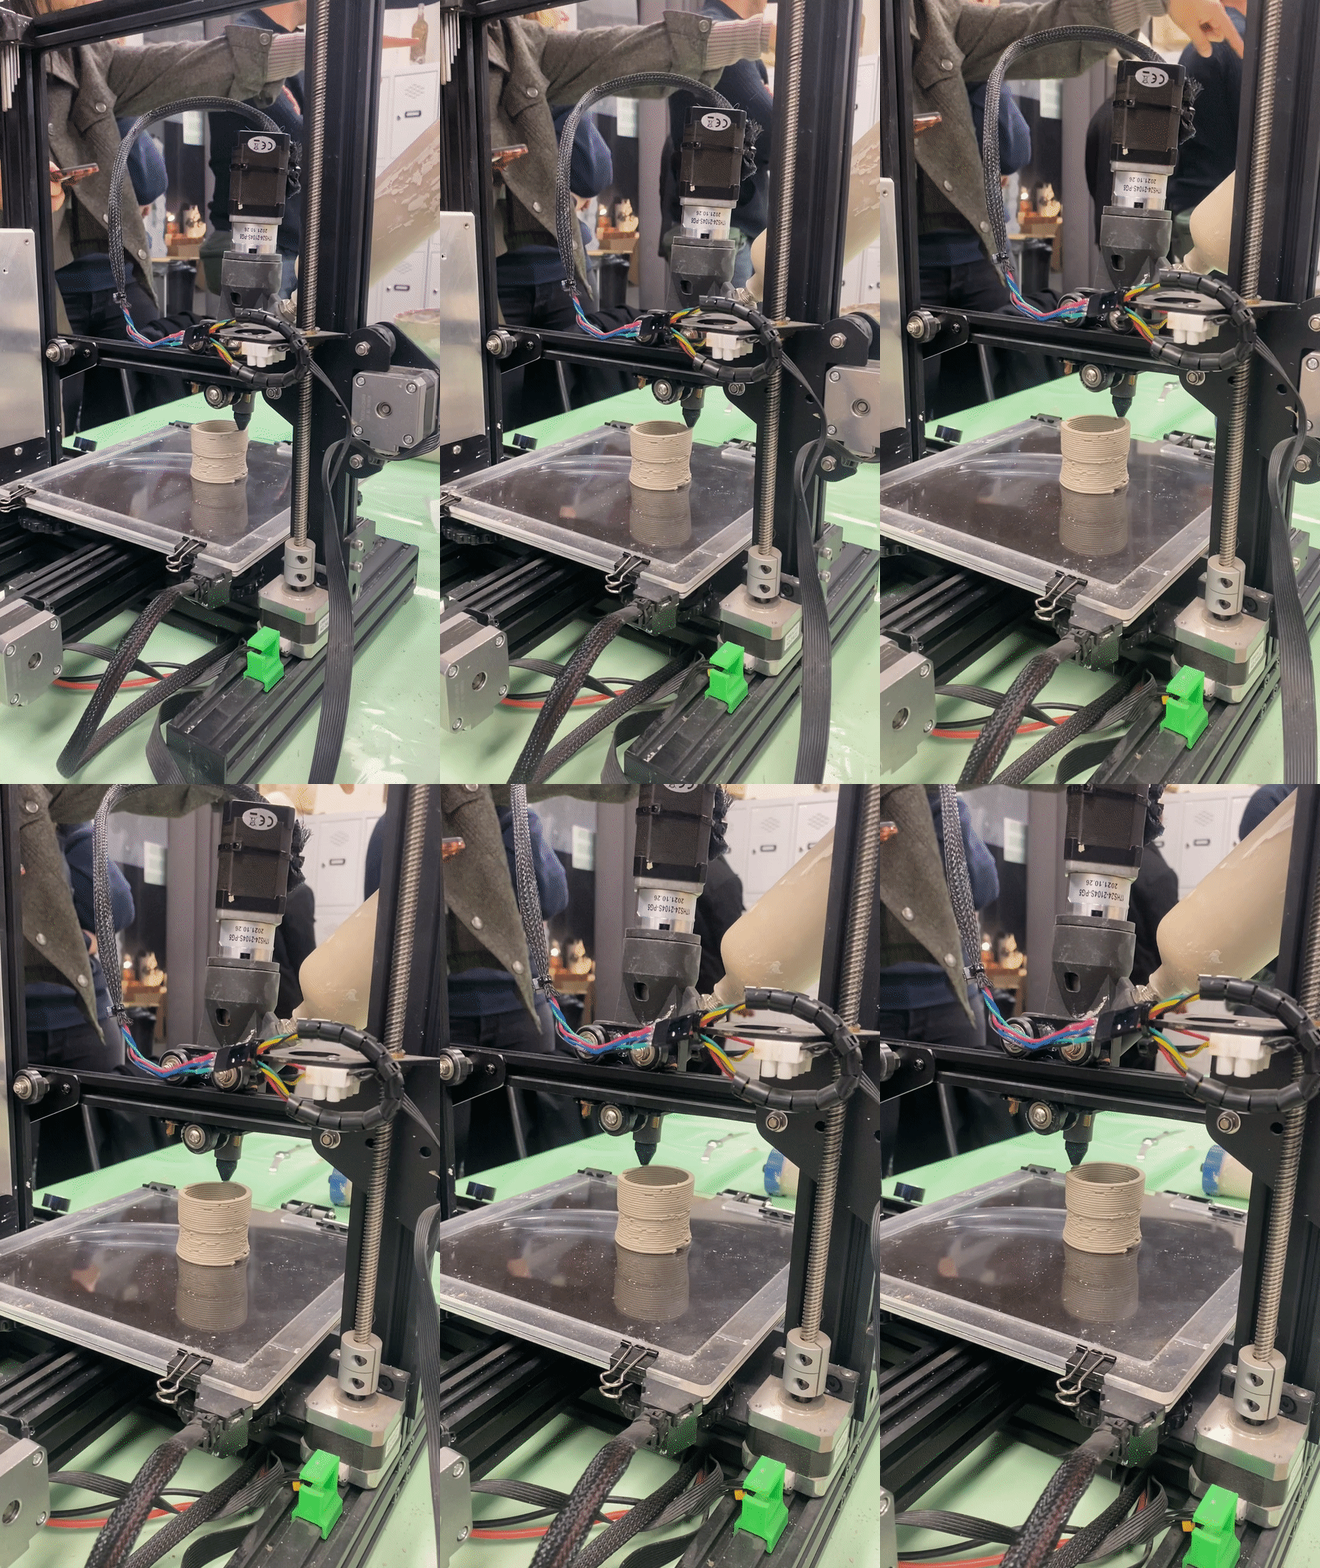
This seminar was on how to 3D print paste with an FDM modified printer, and it was a really interesting experience. The concept of printing with paste was completely new to me, and I was excited to learn about the process.
The seminar started with the preparation of the clay. Edu explained that the clay needs to be properly textured and mixed with water to achieve the right consistency for printing. This step is critical, as the clay needs to be just right to ensure a successful print.
After preparing the clay, we moved on to filling the cartridge and setting up the printer. This involved connecting the cartridge to the printer and then connecting the air pressure machine. Once everything was set up, we sliced the 3D model with Cura and generated the g-code file.
Sending the g-code file to the printer was the next step, and this was where you will know if the slicing and the clay was good or not. I couldn’t help but think that something could go wrong and ruin the entire process.
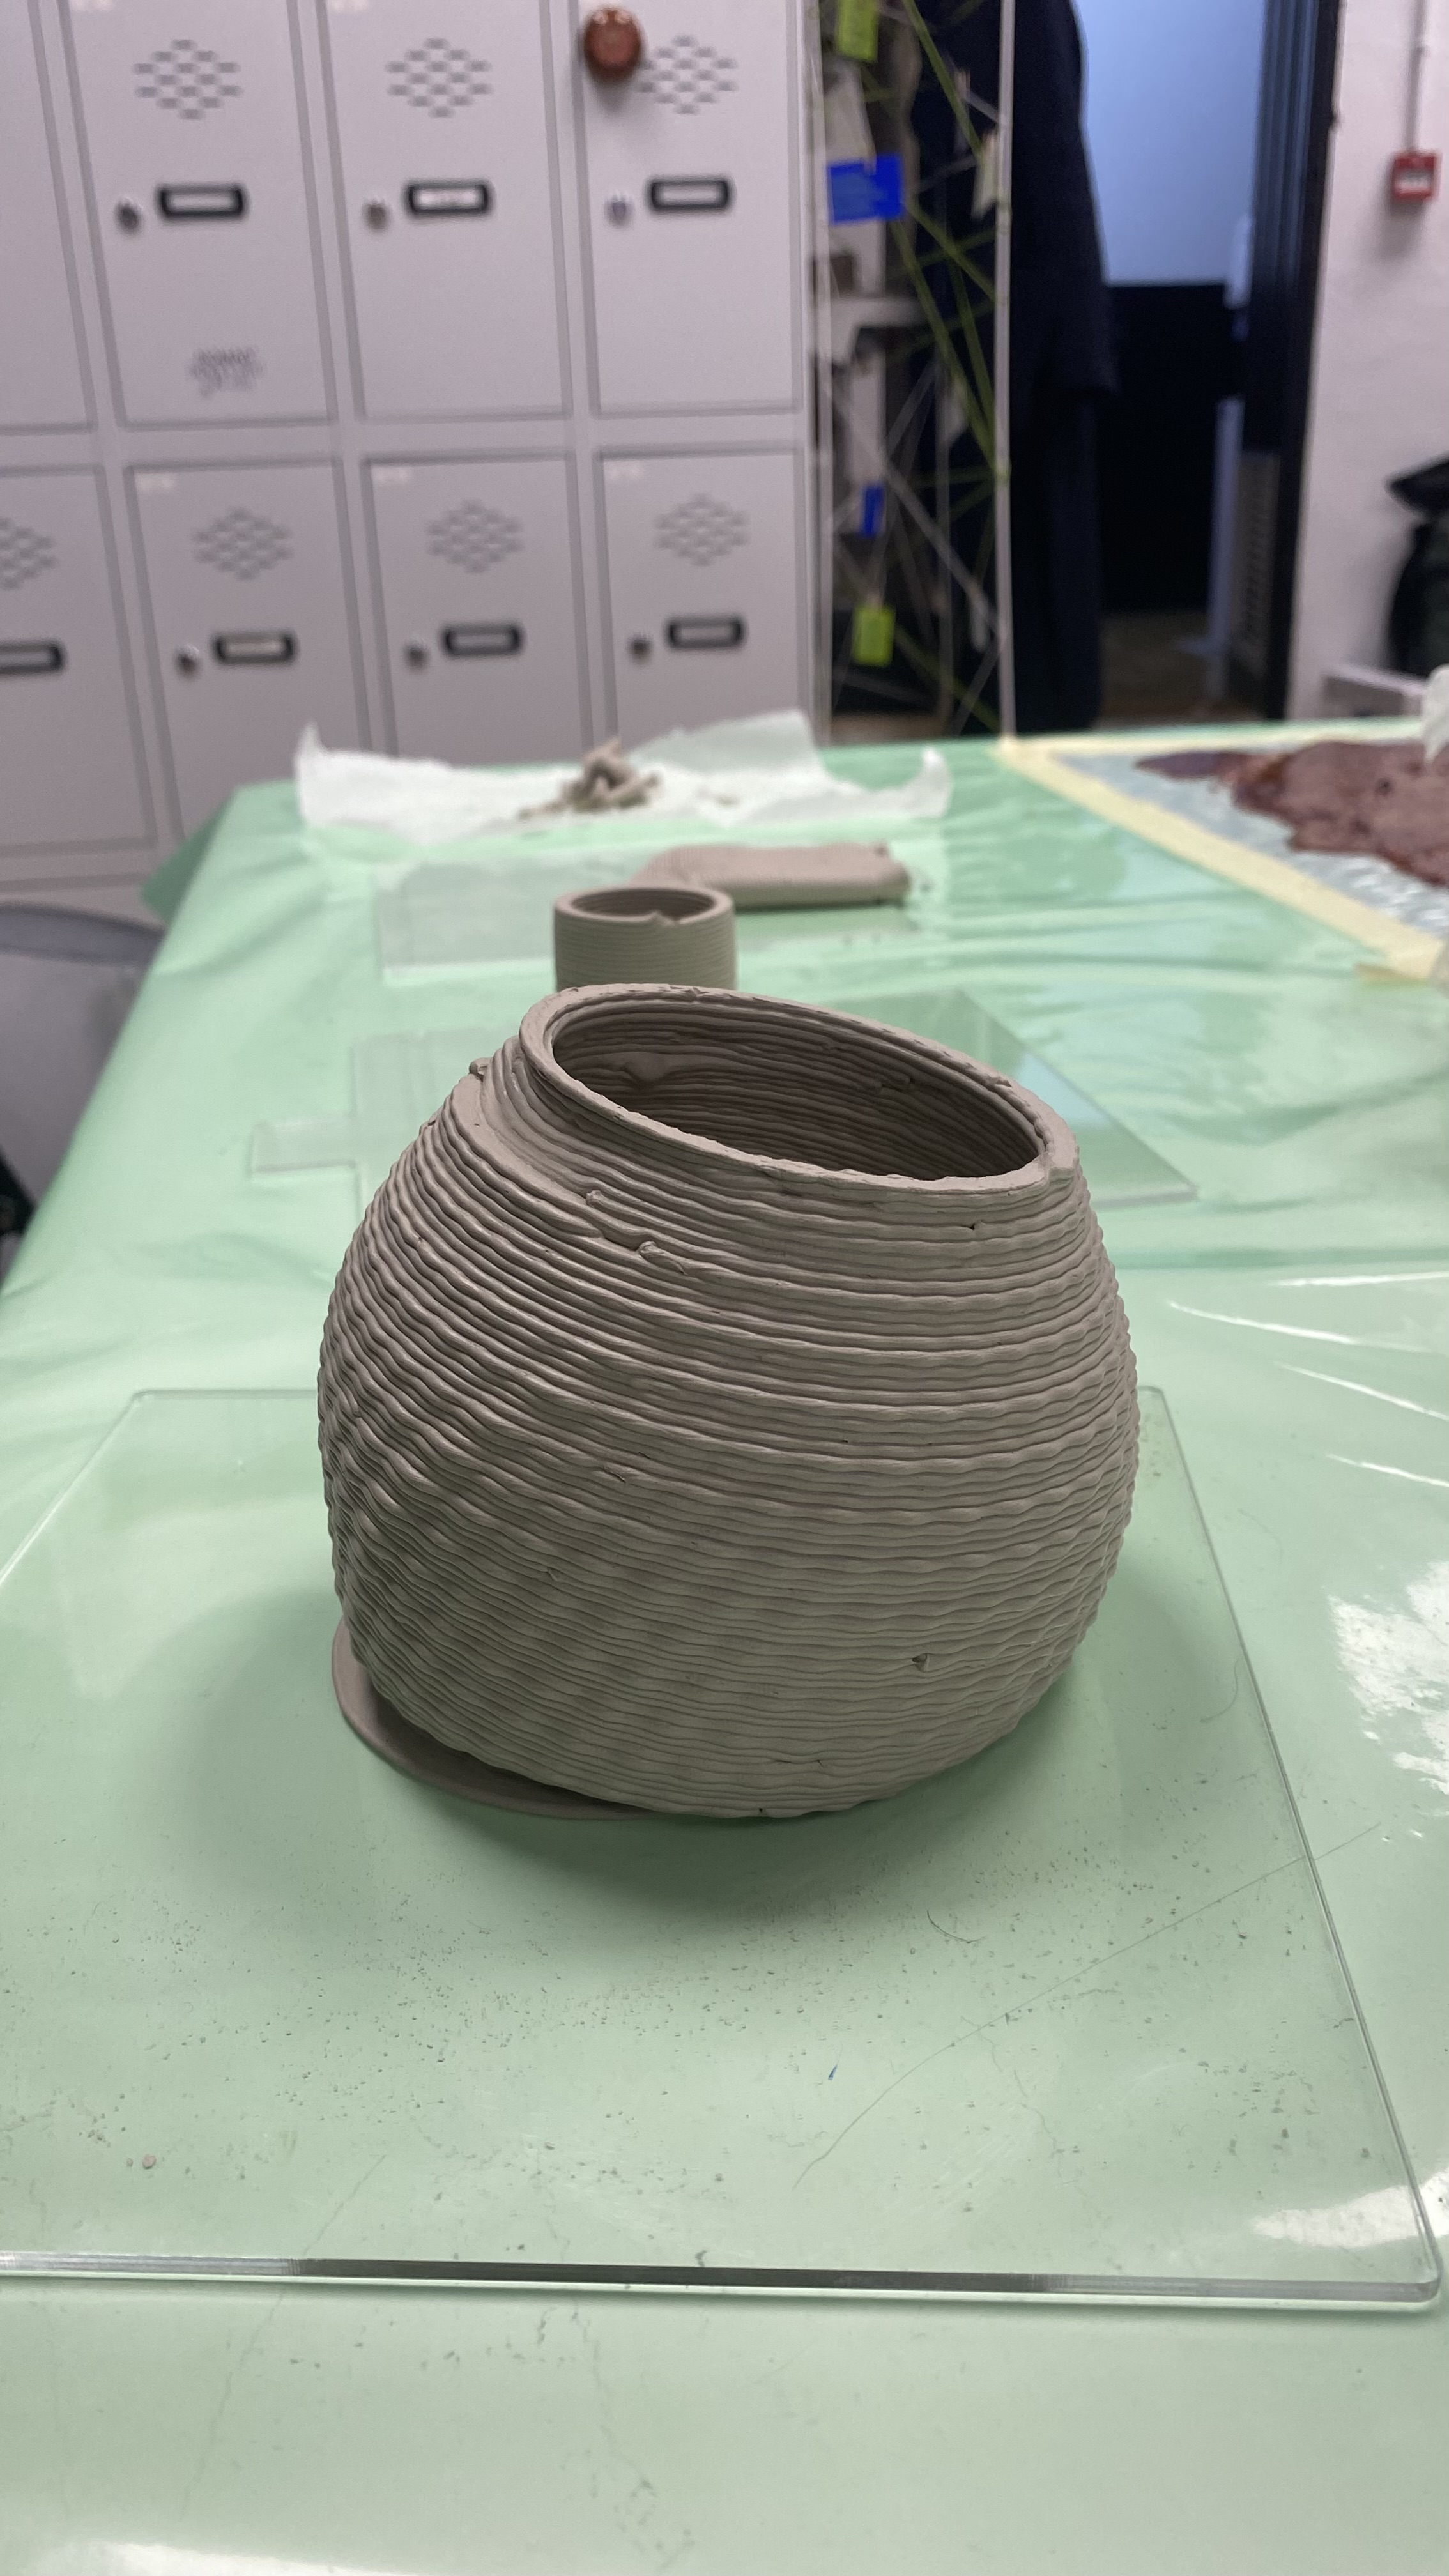
Finally, it was time to print and hope for the best. I watched as the printer slowly but steadily extruded the clay paste and built up the layers of the model. It was amazing to see how the paste gradually took shape and formed the 3D model.
Overall, the seminar was a great learning experience, and I gained a new appreciation for the world of 3D printing clay. The process of printing with paste was more complex than I had anticipated, but I left the seminar feeling excited and eager to try it out for myself.
